The 3rd annual green scene is tomorrow, September 11th from 9 to 3:00pm, to be held at Southwestern College.
This free event promises many wonderful booths such as Olivewood Gardens, San Diego Beekeeping, Wildcoast and the San Diego Master Gardeners.
In addition they have three great classes;
· Composting with Worms 9:30 - 10:30 am
· Reusing Gray Water 11:00 - 11:50 am
· Growing Cool Season Vegetables 12:30 - 1:20 pm
· Guided Tour of the Botanic Garden 1:45 - 2:45 pm
Garden Talks (in room 1802)
Hope to see you all there!
Boutique nursery featuring rare vegetable heirlooms located in San Diego, California.
Friday, September 10, 2010
Sunday, September 5, 2010
We Are What They Eat
As with all things we consume and purchase these days it seems as though we have to constantly be on guard. Where did this come from? How was it raised/grown? What's in it? and the list goes on and on....
Us "organic" home gardeners and backyard chicken raisers tend to, I will admit it, feel a little smug but we have to be just as mindful as everyone else. Every time I let my guard down and allow myself to be lulled into a false sense of security I'm jarred back into reality.
This time in the form of arsenic in chicken feed, the feed is claimed to have elevated children's arsenic levels 50% and more above safe levels after consuming eggs from their backyard chickens. The additive at the forefront of this is Roxarsone and I urge everyone with backyard chickens to take 5 minutes and go outside and get the ingredients off of your chickens feed and study it. Although most feed suppliers have discontinued the use of the additive I think you might be surprised just how many ingredients you cannot identify yet alone pronounce.
Ingredients like Ammonium Hydroxide (yep, that's the same one as your floor cleaner), Bentomite (a clay that can be found in cat litter) and the ever popular and broad artificial flavoring category which could and does contain just about anything. I have to ask myself is it necessary for our chickens and ourselves to consume these chemicals? You might find ingredients even more mystifying then these, take a minute to enter them into your google search engine and see what comes up. I wager you might be questioning why you or your chicken needs things like Methionine Liquid.
Lucky for us gardeners we have a happy selection of foods for our chickens to forage and hopefully some not so happy bugs because if we look back to our chickens prehistoric ancestors they certainly weren't living off of corn and soybean meal.
Wednesday, September 1, 2010
Best plants for pollinators in the winter garden
Pollinators have a hard time finding food once all the spring flowers have died and gardeners focus on their winter crops but we could still use their services. Bees prefer the bright white, yellow and blue flowers while butterflies look for bright red and purple flowers.
Here is a list of plants that can brighten up your fall/winter garden as well as provide food and shelter for your hard workers.
1. Agastache (Hummingbird Mint)- Blooms through fall providing nectar to hummingbirds and butterflies. 'Blue Fortune' the dwarf variety only gets 3-4'.
2. Bluebeard - Bees love this late summer bloomer.
3. California Goldenrod - Late bloomer that provides food to the three B's! Bees, Birds and Butterflies.
4. Coreopsis Lanceolata - Good source of nectar that blooms well into summer with regular deadheading.
5. Gallardia - Oranges and Lemons as well as the dwarf goblin are long bloomers with deadheading.
6. Prince Calico Aster - Native to North America, blooms late summer through fall, attracts bees and butterflies.
7. Rosemary - A great choice for bees that blooms late into the season and adds great flavor in recipes.
8. Rudbeckia - Late season bloomer, provides food for butterflies.
9. Scabiosa (Pincuchion Flower) - Butterfly Blue attracts just what it's name suggest and with deadheading will bloom throughout summer into fall.
10. Yarrow (Moonshine) - Great food source for native pollinators that blooms through summer.
Here is a list of plants that can brighten up your fall/winter garden as well as provide food and shelter for your hard workers.
1. Agastache (Hummingbird Mint)- Blooms through fall providing nectar to hummingbirds and butterflies. 'Blue Fortune' the dwarf variety only gets 3-4'.
2. Bluebeard - Bees love this late summer bloomer.
3. California Goldenrod - Late bloomer that provides food to the three B's! Bees, Birds and Butterflies.
4. Coreopsis Lanceolata - Good source of nectar that blooms well into summer with regular deadheading.
5. Gallardia - Oranges and Lemons as well as the dwarf goblin are long bloomers with deadheading.
6. Prince Calico Aster - Native to North America, blooms late summer through fall, attracts bees and butterflies.
7. Rosemary - A great choice for bees that blooms late into the season and adds great flavor in recipes.
8. Rudbeckia - Late season bloomer, provides food for butterflies.
9. Scabiosa (Pincuchion Flower) - Butterfly Blue attracts just what it's name suggest and with deadheading will bloom throughout summer into fall.
10. Yarrow (Moonshine) - Great food source for native pollinators that blooms through summer.
Labels:
beneficials,
butterflies,
tips
Monday, August 30, 2010
More than one way to grow
Here are some wonderful shots from this years Paul Ecke Jr. Flower and Garden Show
This last picture is courtesy of Expert Aquaponics located right here in San Diego and was a small part of their absolutely amazing setup. This vertical garden is soil less and holds up to 50 plants! Look for more post on aqua-farming to come on Seeds in the City as one of our own has recently started her own aqua-farm with over 100 Tilapia!
Master Gardeners Fall Seminar
The San Diego Master Gardener Association is back with their fall seminar that features great speakers and their plant sale.
When: Saturday, October 2nd
Where: Marina Village Conference Center
What: Many great topics this year including Integrated Pest Management, Garden to Table with chef Ron Oliver of the fantastic Marine Room, The Dirt on Soils and Growing Fungi in the Garden.
Hope to see you all there and of course I will share the best of the best right here on Seeds in the City.
When: Saturday, October 2nd
Where: Marina Village Conference Center
What: Many great topics this year including Integrated Pest Management, Garden to Table with chef Ron Oliver of the fantastic Marine Room, The Dirt on Soils and Growing Fungi in the Garden.
Hope to see you all there and of course I will share the best of the best right here on Seeds in the City.
Tuesday, August 24, 2010
Summer Cover Crops
Summer is finally upon us in now sunny San Diego and to celebrate Seeds in the City is coming out of hibernation with a new post. Thanks for your patience!
Cover crops can be a very beneficial addition to your soil that most farmers and gardeners plant in the winter to ready the soil for spring planting. In addition to adding organic materials to the soil they can solve compaction problems as well as suppress weeds and attract beneficial insects.
In between the spring/summer and fall/winter garden you can also have a cover crop. Our soil is in definite need of a quick pick me up before the fall planting commences so I looked into a few options.
Our issues were specific, we needed a quick growing crop that could tolerate summer heat and could be tilled under in a matter of weeks. We ended up going with Buckwheat which is ready to till under right after it flowers in a mere 4-5 weeks and Soybeans. Here is a short breakdown of some options;
Buckwheat - Grows fast, smothers weeds, attracts beneficial's and releases potassium when breaking down in the soil.
Canola (Rape) - Smothers weeds, fast growing and suppresses nematodes.
Clover - Great for attracting beneficial's and some can be quite pretty. Downside is a lot of clover varieties require up to 1 year before they can be turned under.
Cow pea - Smothers weeds, suppresses nematodes if allowed to bloom before tilling, adds nitrogen to the soil and it's edible!
Soybean - another edible choice that adds nitrogen and thrives in heat, till into the soil when 50% of the plants have flowered or wait to harvest the beans.
When you cover crop is ready to till under cut it to about 2 inches above the soil and let dry a couple of days. Then gently dig it into the top layer of your soil, preferably by hand.
Sunday, June 6, 2010
When to Harvest - Top 10
Knowing when it's time to harvest and enjoy the fruits and veggies of your labor can be tricky. Here are a few hints on the best times to harvest.
Carrots - can be pulled when they are as big as your finger, they will be sweetest then. Also look for a carrot top that is bright orange. Cut their tops off if your not going to eat them right away.
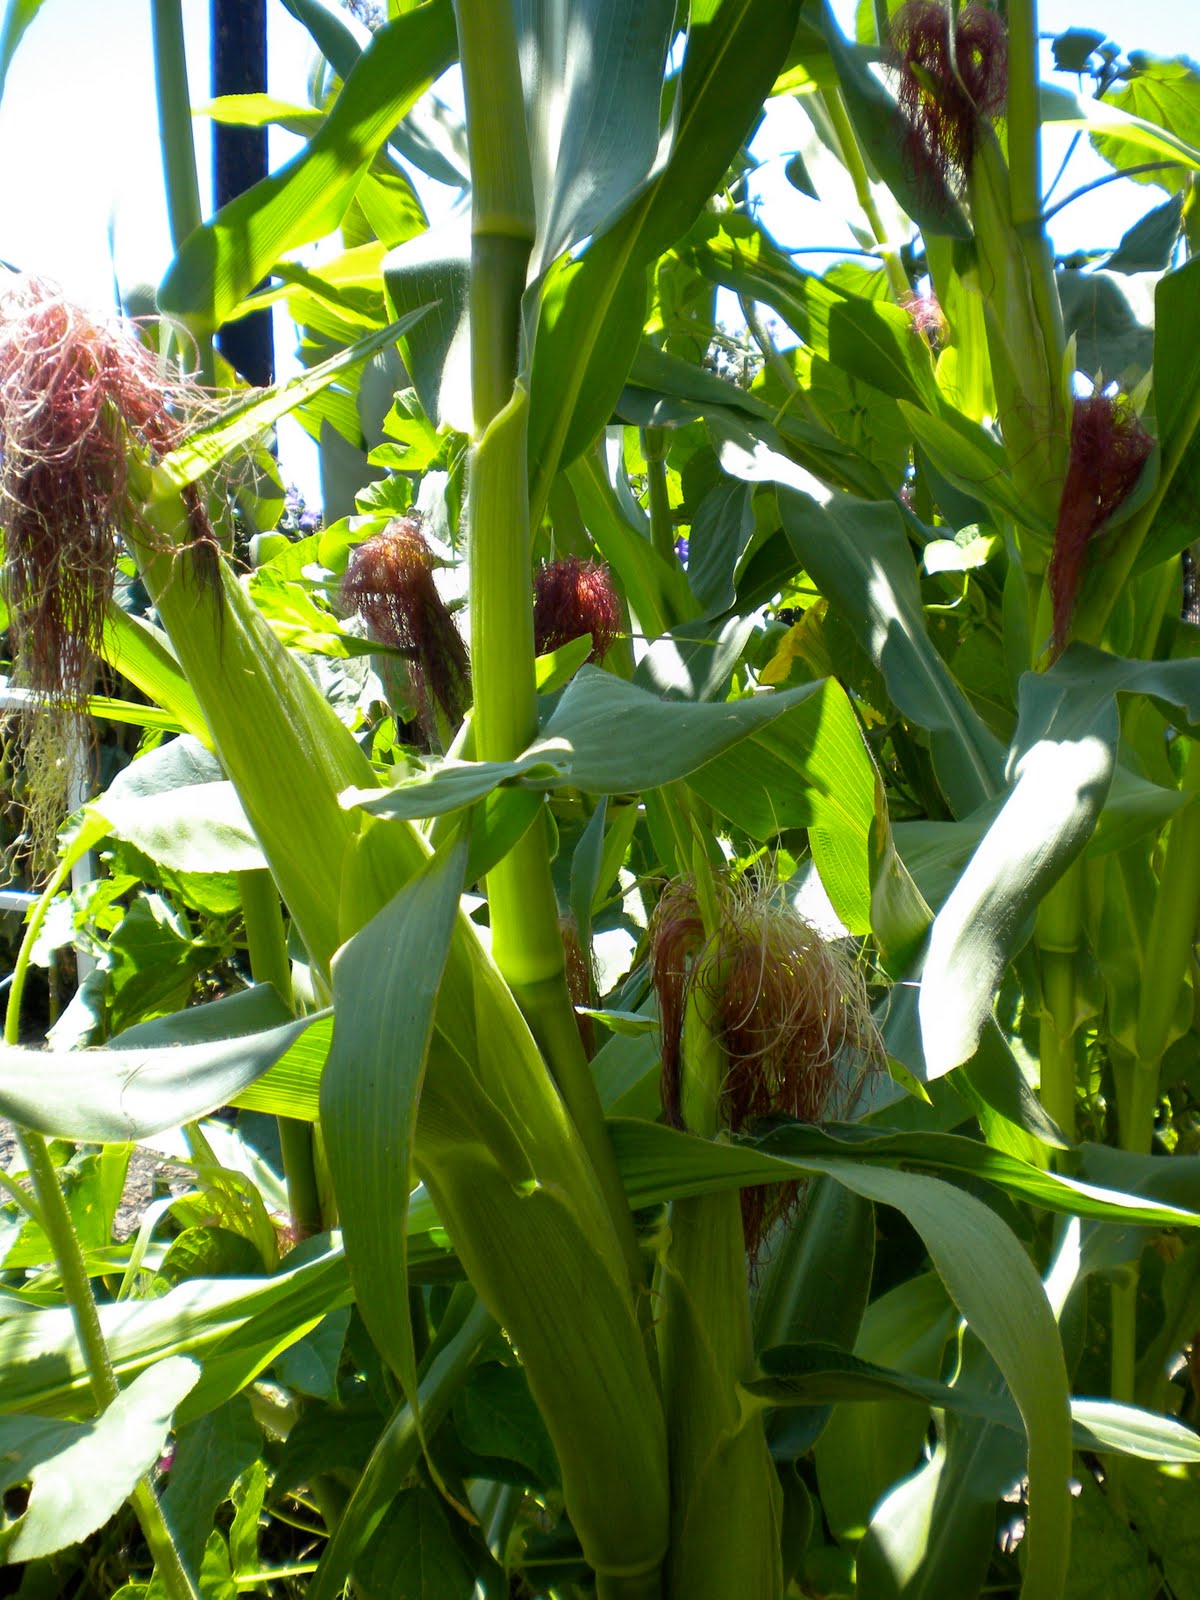
Corn - the husk should feel full, look for the plants silks to be dry and brown, greenish near the cob. Cut a slit in the husk to do the kernel test; pierce one kernel with your fingernail, if the liquid is clear it's not ready, if there is no liquid the corn is over-ripe and if there is milky liquid it's just right. Pick in the morning for ultimate sweetness.
Cucumber - look for the flowers to fall off of the cucumber, it should be dark green and large enough to use; pickling varieties should be 2-6" and slicing varieties should be 6-10".
Eggplant - the skin should be smooth and shiny but firm, most varieties will be more than 6", the smaller the eggplant the better the flavor.
Peppers - pick when peppers are big enough to use, certain peppers are not completely ripe until they turn their final color. If you pick certain peppers before they turn red that plant will continue to set new fruit.
Potatoes - new potatoes can start to be harvested anywhere from when the plant flowers to two weeks after the flowers have died. For non-flowering varieties this is about 10 weeks after planting. Dig out a few new potatoes for that nights dinner and replace the soil. For your final harvest and storage potatoes dig up the plant carefully when it's dry and after the foliage has died back. Leave the potatoes out in the sun to dry for a couple of days.
Snap Beans - look for beans that are straight and thin as a pencil, pick in the morning (only if plant is dry) when they are at their sweetest. The seeds should be barely visible in the pod and it's tips should be soft.
Sweet Potato - usually ready 100-140 days after planting, harvest when plant dies down on dry days before the first frost. Be careful to avoid damaging your potatoes when harvesting and cure a week before storing. Rinse very gently if absolutely necessary.
Watermelon - look for the tendril nearest the fruit to turn from green to brown, also look for the bottom of the plant to yellow.
Winter Squash - look for the vine to die down and the stem to dry, the skin should be hard making it difficult to pierce with your fingernail. When cutting, leave 1" of stem. Buttercup and nut varieties taste better after sitting in the sun for two weeks after harvest as does Spaghetti Squash which is usually ripe when the stem cracks.
Carrots - can be pulled when they are as big as your finger, they will be sweetest then. Also look for a carrot top that is bright orange. Cut their tops off if your not going to eat them right away.
Corn - the husk should feel full, look for the plants silks to be dry and brown, greenish near the cob. Cut a slit in the husk to do the kernel test; pierce one kernel with your fingernail, if the liquid is clear it's not ready, if there is no liquid the corn is over-ripe and if there is milky liquid it's just right. Pick in the morning for ultimate sweetness.
Cucumber - look for the flowers to fall off of the cucumber, it should be dark green and large enough to use; pickling varieties should be 2-6" and slicing varieties should be 6-10".
Eggplant - the skin should be smooth and shiny but firm, most varieties will be more than 6", the smaller the eggplant the better the flavor.
Peppers - pick when peppers are big enough to use, certain peppers are not completely ripe until they turn their final color. If you pick certain peppers before they turn red that plant will continue to set new fruit.
Potatoes - new potatoes can start to be harvested anywhere from when the plant flowers to two weeks after the flowers have died. For non-flowering varieties this is about 10 weeks after planting. Dig out a few new potatoes for that nights dinner and replace the soil. For your final harvest and storage potatoes dig up the plant carefully when it's dry and after the foliage has died back. Leave the potatoes out in the sun to dry for a couple of days.
Snap Beans - look for beans that are straight and thin as a pencil, pick in the morning (only if plant is dry) when they are at their sweetest. The seeds should be barely visible in the pod and it's tips should be soft.
Sweet Potato - usually ready 100-140 days after planting, harvest when plant dies down on dry days before the first frost. Be careful to avoid damaging your potatoes when harvesting and cure a week before storing. Rinse very gently if absolutely necessary.
Watermelon - look for the tendril nearest the fruit to turn from green to brown, also look for the bottom of the plant to yellow.
Winter Squash - look for the vine to die down and the stem to dry, the skin should be hard making it difficult to pierce with your fingernail. When cutting, leave 1" of stem. Buttercup and nut varieties taste better after sitting in the sun for two weeks after harvest as does Spaghetti Squash which is usually ripe when the stem cracks.
Subscribe to:
Posts (Atom)